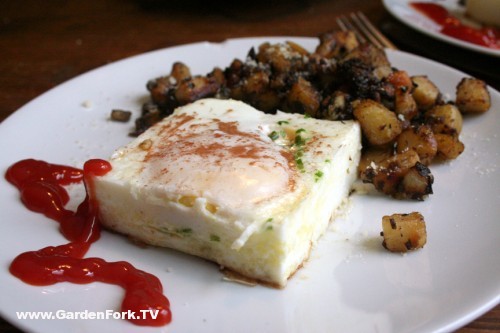
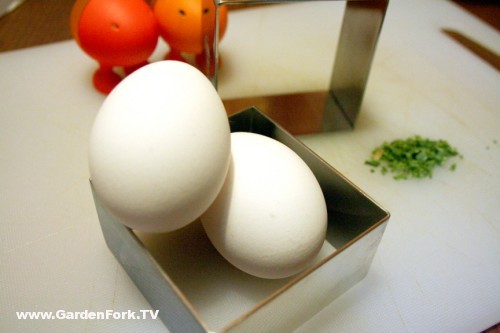
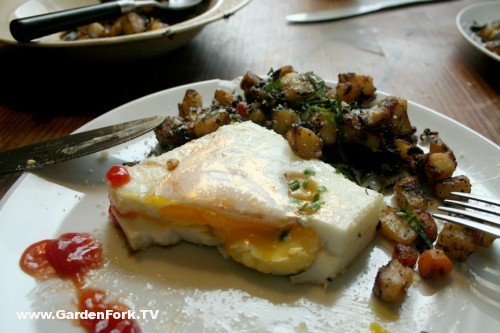
This is not a Photoshop trick, these poached eggs ARE square. I stopped into a baking supply store to pick up some Vanilla. As I passed by the kitchen gadgets section, I spotted cooking rings and recalled the podcast that I did with Eric: "How to Poach an Egg..."
After looking over stainless steel diamonds, ovals, and circles, I picked the squares. I've found that a thicker bands distributes heat more evenly, a thinner gauge of metal is
better suited for making stacked presentations. I wouldn't call this a recipe, this is more of a description of how I used a metal cooking ring.
You'll Need:
- a metal cooking ring, large enough for large 2 eggs
- a non-stick frying pan with a glass lid
- flat spatula for flipping
- 2 large eggs
- dried chives
- salt or grated Parmesan cheese
- ½ teaspoon unsalted butter
- ½ cup water
- small bowl
Place cooking ring into the frying pan and bring pan to medium heat. Crack one egg into a bowl and let the egg white settle. Melt ½ teaspoon of butter in the cooking ring and pour some of the egg white into the ring to form a solid bottom, then add the rest of the egg. Add ½ cup of water to the pan and cover with glass lid.
When the egg yolk starts to form a slightly opaque film, remove the glass lid and sprinkle some dried chives and salt or Parmesan cheese. Crack the other egg on top of the first egg, return cover and cook on medium heat for another 5 minutes, or longer if you like your eggs well done. With a flat spatula, transfer the cooking ring and egg to a plate. Let it cool for a minute and carefully remove the ring, and serve.
When you slice through, you'll notice that bottom egg will be more well-done, than the top layer of egg. Here's an idea: beat an egg with ham, smoked salmon, red pepper, or caramelized onion and make the first layer into scrambled egg, then make the top layer a poached egg — two for one!


Christina
This looks really great! I am on the lookout for a square cooking ring now.