
I wanted to walk you through the Skil right angle grinder repair I did this week. A while back, the plastic slide switch on this tool flew right off when I went to turn it on. Right angle grinders are not very expensive, but I hat the idea of tossing out a perfectly good tool just because the switch is bad. Here is the repair I did.
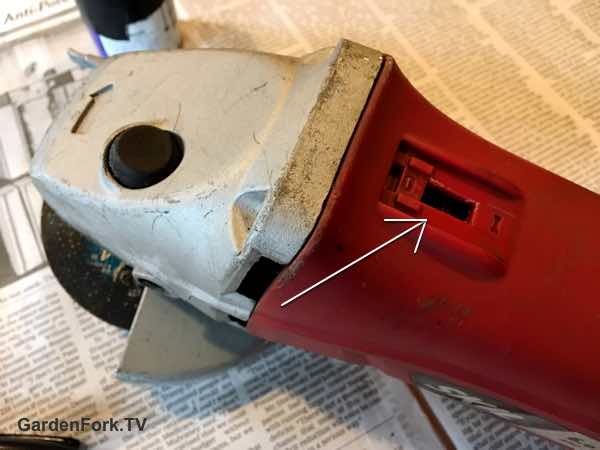
Where the on switch used to be
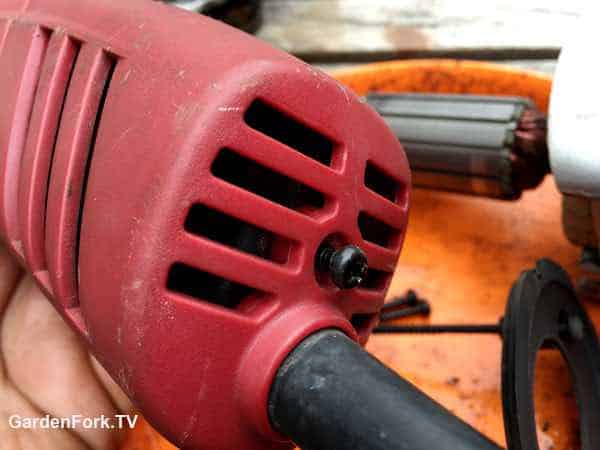
I thought the switch mechanism was right where the switch tab comes out of the body of the grinder, so I took apart the most of the tool to get to the switch.
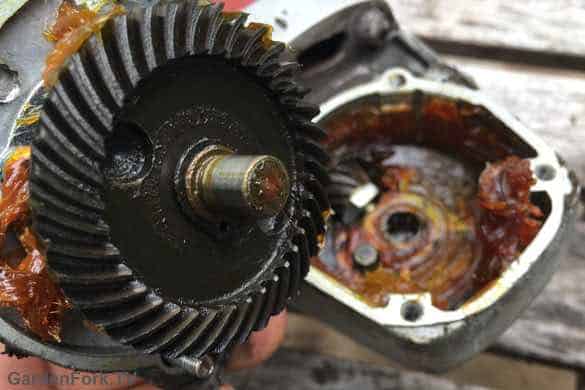
4 screws hold in the spindle. Easy enough to remove.
Its always fun to see how tools are built, at least I think its fun. So in addition to completing the Skil right angle grinder repair, I just like taking things apart to see how they work.
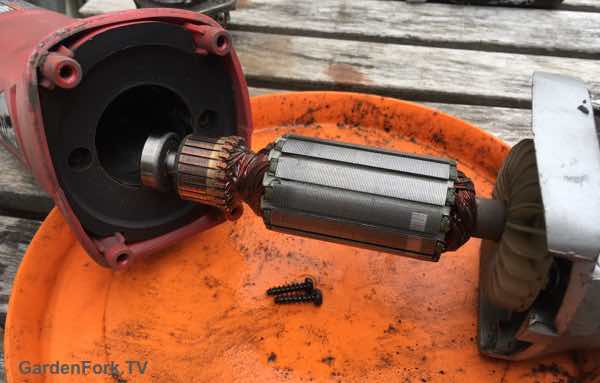
Armature removed
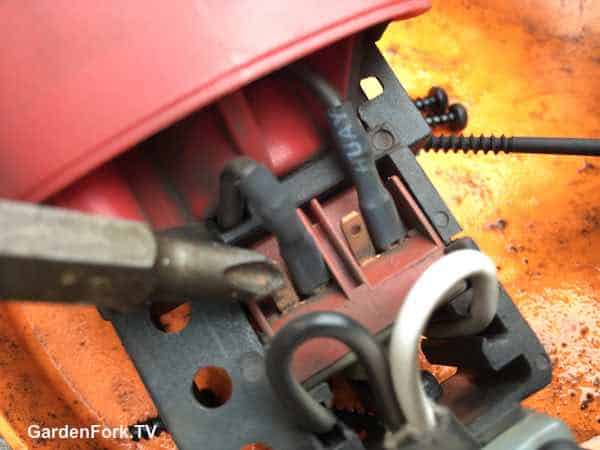
But I discovered that the switch wasn't where I thought it was. But this was after I pulled the armature and the brushes popped off the commutator. I knew then getting those back onto the motor would be a challenge.
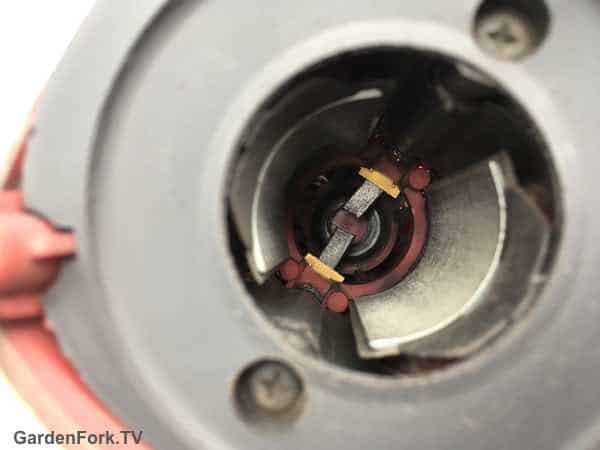
Brushes that would have to be slipped back over commutator.
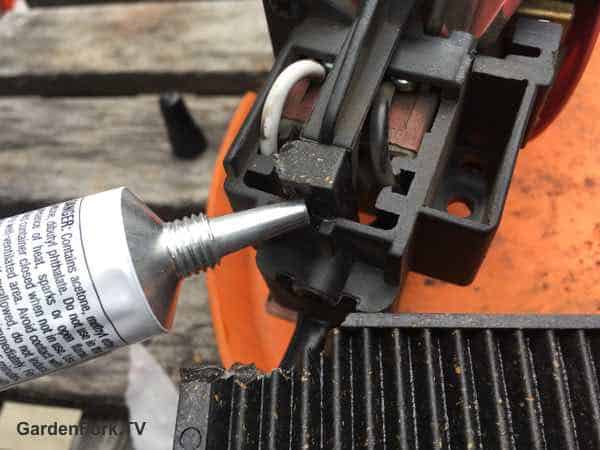
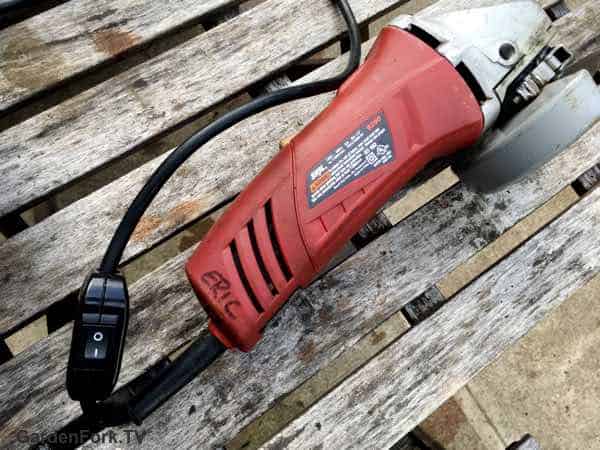
The switch itself was in the back of the grinder, near the power cord, and a long plastic rod connected the switch button and the switch mechanism. Why did I not first just pop the back of the tool open? It was just one screw holding the case together.
When I first looked at it, the back of the grinder looked like it was all one piece, only after unscrewing the one screw did I see the back end came apart easily to reveal the switch.
After trying to jumper the switch internally, meaning bypassing the switch so the grinder was always turned on, I opted to slide in a piece of plastic wedge to push the switch into its 'on' position permanently. Plastic glue holds it in place. The plastic I used is from one of those composite wedges one buys for carpentry projects, I think its a combo of sawdust and plastic. It worked perfectly here. Any piece of plastic would do fine.
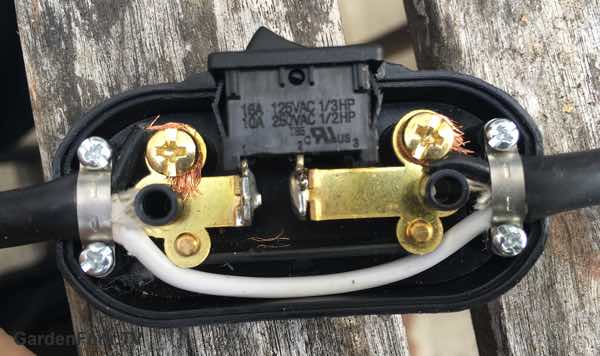
With the grinder always on, I wired an inline switch into the power cord. This is the hardest part for me, as you have to cut the wire just right for it to fit into the switch case. Be sure to use the black wire in the switch, and the white wire passes through the switch untouched. If you cut too much of the insulation, you can use quality electrical tape to wrap the wire that sticks out of the switch case.
Now I have my grinder back, and saved some landfill space as well.
Steve
I feel the same way and would have done the same thing. I did that years ago to an old Craftsman router when its power switch disappeared except I controlled power via an extra surge suppressor I had on hand.
Eric
@steve good to hear. My grinder now has a new life, one less thing I have to buy again.
Michael
How did you slip the brushed back over commutator?
Eric
it took a few tries and I removed the end cover of the grinder, so i could get access to them. had to hold them open with some pliers and slipped in the commutator. thx!