I planted everbearing raspberries from Fedco Seeds in one of my raised beds. My thinking was that in a raised bed, the natural sprawl that raspberries do would be easier to control. I have some planted in the yard nearby, and they love to creep into the lawn and everywhere else.
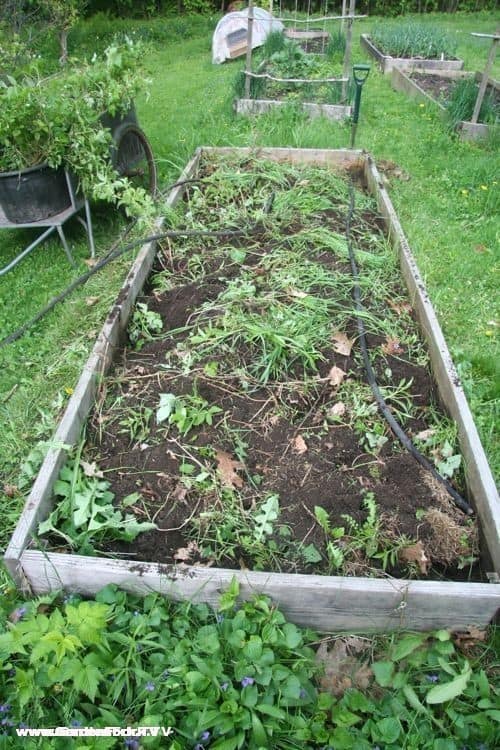
Here is the raised bed while the raspberries are removed
We have more bear problems now, and the bears love raspberries. The past two years the bears have mashed down my raspberry patch, so I decided this year to give them to a neighbor and reclaim the raised bed for tomatoes.
But how do you get raspberries out of a garden bed? I don't think you can completely, so I decided to solarize the bed. I dug out all the berries I could, and then covered the raised vegetable bed with black plastic.
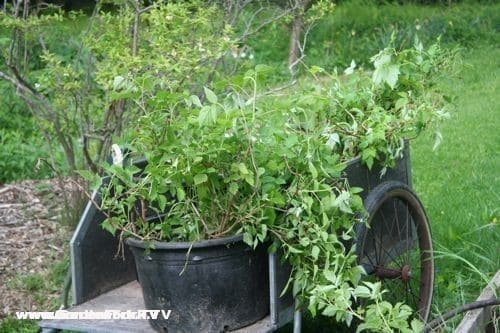
the raspberry plants, removed
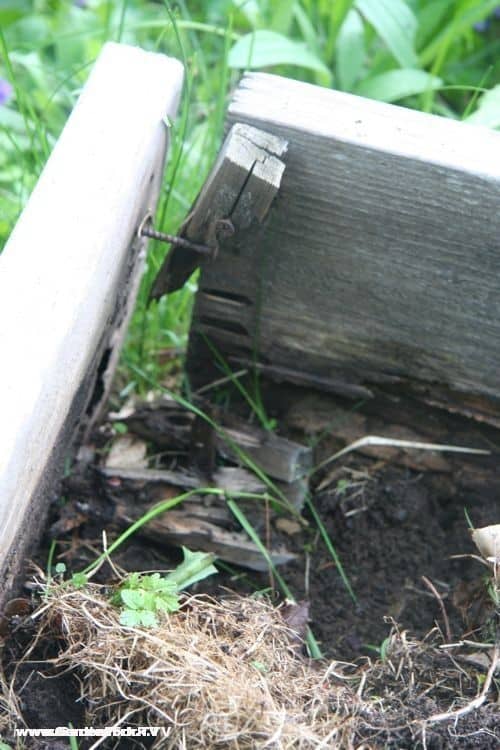
I discovered some age damage while removing the raspberries. Fixed it.
The black plastic does two things, it keeps the raspberry plants from blooming, and it raises the temperature of the soil. While I did this in late spring, this technique comes in handy in late winter to warm raised beds, giving you an edge. You can watch a video about vegetable gardening in winter here, and using plastic as a season extender our raised vegetable beds here.
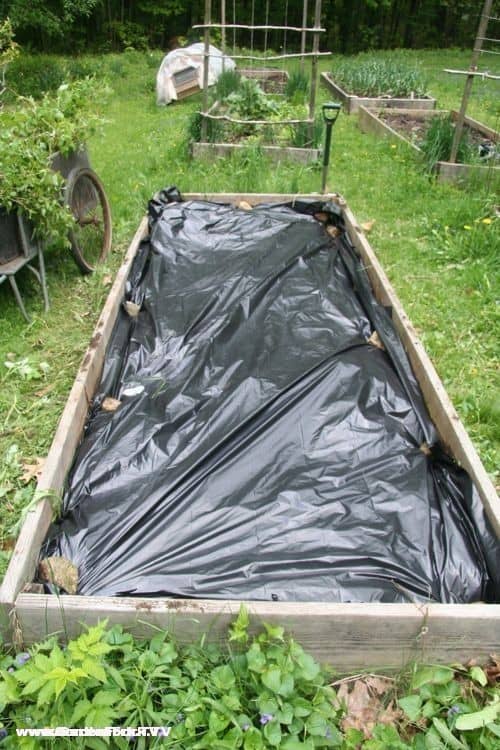
I put 6 mil plastic on the raised bed, held down with rocks.
I left the black plastic on for a month, plenty of time to kill off any remaining raspberry plants. I then kept the plastic in place, burned holes in it with a torch for tomatoes.
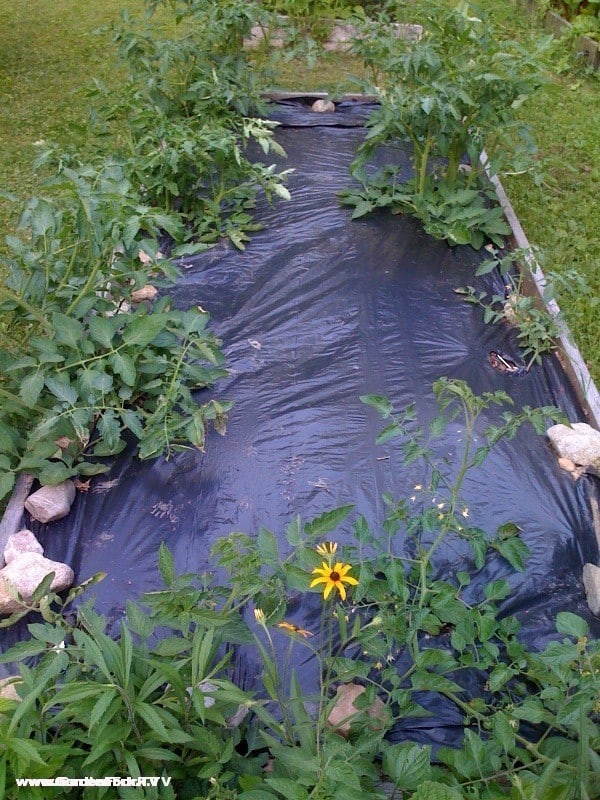
I torched holes in the plastic after a month for tomatoes.

Bruce Berg
Looks neat! Dealing with bears would not be enjoyable. We are waiting to see if those destructive moles return this year.
We have a small garden next to our duplex that does well. This year I told my wife about garden fabric. It makes weed control much easier and the water goes through it. So far, so good.
Eric Gunnar Rochow
i have had mixed success with the weed fabric. i used it along my house to keep the plants away from the clapboard, but the day lilies grew right through the fabric. ( its actually plastic )
the lesson here is to not cheap out, but to buy the expensive weed fabric, the cheap stuff doesn't work.
I think the weed fabric that resembles Tyvek style housewrap seems to work better than the plastic kind that has many small holes in it. It may be the same material you use for a silt barrier when installing curtain or footer drains. I've seen the same material used for silt fencing on construction projects.
Kimberly
Love the pics and story about solarization of your raised bed. I am solarizing one of my raised beds now. This is an interesting website about solarization that I thought you might enjoy. http://www.waynesthisandthat.com/solarization.htm
Martha
Hi Eric,
I love the idea of reusing a bed for a different plant if the current plant isn't working. Did you change the soil in the bed or amend it in any way? I heard it was advisable to change the soil when planting something new?
Thanks for the great info and pics! 😉